Saturday, October 4, 2014

The Last Day

Reluctantly sold! Pictures on its last day with me. Thanks LA 2162 for your great service and company!


Tuesday, December 13, 2011

Rear Boot Absorber

Hi,

I have changed the rear boot absorber. It was real trouble to lift up the heavy boot without those absorbers.

1) First of all, you have to remove the plastic panels and carpets. This is very straightforward, I did not capture any picture of this. Just unclip all visible clips and you'll be able to explose the absorber assembly.

2) Removing the absorber is also an easy task. But before that you have to have a stick for instance to hold the boot opened. Be very careful, make sure it stands well or else the whole boot may fall on you. THIS IS VERY SERIOUS ACCIDENT IF HAPPENED, NO DOUBT IF LET SAY IT REACHES YOU HEAD OR BACK, YOU MAY SUSTAIN SERIOUS INJURY OR EVEN FATALITY. The best still to have a friend holding the boot opened for you while you are working inside.

On the 'ball joint' of the absorber's end, there's a locking pin. You need to use a flat screw driver to unlock this pin out. Pry them outward. The absorber will then be loose out.


3) The installation is simply reversal. But you do not need to worry on removing the pin. Just click the 'ball joint' together, it fits and will not loose out. Do for both ends and both sides, and you are done!


Good Luck!

Monday, August 1, 2011

How to Test Speedometer Sensor on a 940

Hi,

In this post, I'm going to share with you on how to check or test the speedometer component on a 940. I am doing this test based on a 1991 V940 with B230E engine, the wires may have different colors for later models, but principally, it is still the same concept.

Briefly, our cars are equipped with a speedo sensor mounted on the rear axle. This is such a tough component that hardly fails in many instances. This sensor is actuated based on the rear axle speed, which then transmit the signal in sinusoidal form through a wiring harness to the instrument cluster board. It have only a pair of wires (2 wires) laid from the sensor itself to the instrument cluster at the dashboard. This wires often get brittle/cracked/disconnected usually at the axle itself due to exposure to various road conditions (after 20 years of rain, hot, water splashes, etc). This is worth checking first before further checks to be done.

In many cases, we are not sure either the sensor itself worn out or the board? To confirm, do this;

a) First, a continuity test must be done. Detach your car battery first. Then, you may connect both wires at the sensor and using a multimeter, you may check the continuity between these two leads at the instrument board socket. They should indicate high impedance (connected). Then you know either the wires are okay or not.


b) If the wires are okay, but your needle still jumping here and there or do not move at all; re-attach and secure the wires at sensor properly. At the board socket, use a multimeter lead to read from the 2 wires. For this car it is Green/White & Brown/White wires. Put your multimeter in ACV-Mode. Start your car and have a short drive. Observe the multimeter reading. If the multimeter reading increases with your speed, it shows nothing is wrong with your sensor and wires. The board is the culprit. If otherwise, it is worth to recheck the wires before you make a huge investment to change the sensor.


Remember, with the instrument cluster detached, your alternator is not charging the battery! So please have a short test drive only to avoid draining out the battery. You may refer to this page for instrument cluster removal guide, it is very easy for 940 than the 240s! And if it is confirmed that the board is the culprit, this is worth reading!

Friday, July 1, 2011

Come and join me on OUR Facebook! Like!


As time flies by, and as I get so hooked to Facebook, please to announce that I have created a replica page of this blog in Facebook as well. Do Like Us, we may interact, share our passions and knowledge about this car in a more LIVE way! See you guys!


Tuesday, June 7, 2011

Sabah Tour~

We (me and the car) have successfully finished our unplanned Sabah tour, the first ever time I have driven the car for long haul journey, I prefer to call it as 'endurance test'. Been driving around this small and tight island for the past a year, now let's give a try on long distance drive!

04 June 2011

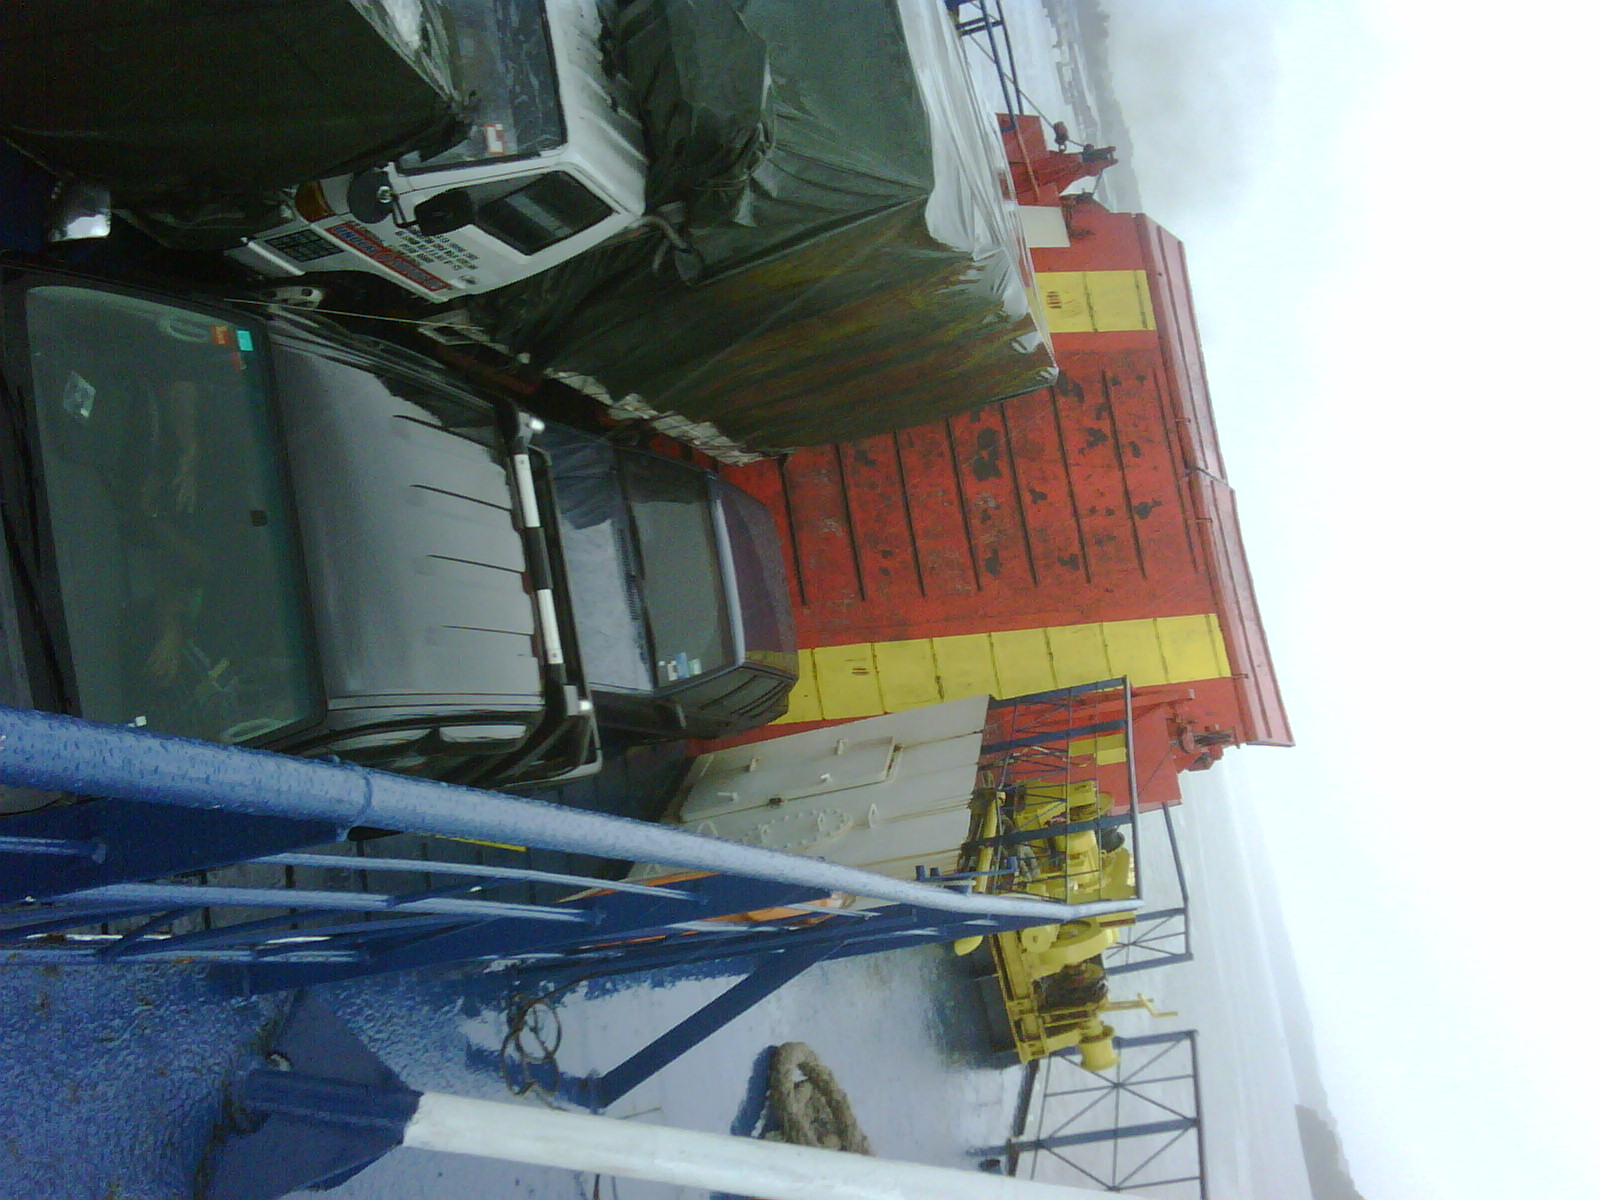
We left Labuan jetty via vehicle ferry to Menumbok, a small ditrict in Sabah mainland around 5pm, arrived Menumbok jetty safely around 6.30pm.


6.30pm here means the day is going to end soon! As sky are getting darker, I have to cruise along federal road for about 2 and half hours to Kota Kinabalu. It was the first time ever driving this car for such a long distance, I have inspirationally whispered to the car "come on, we are going to make it!". 9pm, I arrived Kota Kinabalu safely. Ride was smooth, suspension was so 'accomodative' to potholes, uneven road surface, overall it was very comfortable!


05 June 2011

I already have faith on the car's reliability and ability, as we have made the non-stop 2 and half hours journey last night. So the endurance test continued, to drive from Kota Kinabalu to high hills of Kundasang and Ranau. This is the base station for Mount Kinabalu climbers. It take around one and half hours climbing, with average speed of 40 - 50km/h only, beleive me it is steep! Many would go comfortably at this speed, while stressing your car, you may get around 60km/w. But it is not a good option on the hilly winding road. While climbing, I used gear 3 most of the time, most comfortable. I was worried if I'm stressing the gearbox and engine too much, and keep on monitoring the temperature gauge. Guess what? The higher we gets, the cooler the engine temperature be. I then stopped for a while by a sight seeing roadside area, it was really cold outside, even cooler than the car air-cond! No wonder the engine temperature drops.


The drive was started around 7am in the morning. I then reached Ranau town by 8.30am to have my roti canai breakfast! Right after the breakfast, we cruise down heading back to Kota Kinabalu town. The car passed second endurance test!

06 June 2011

I was on the ferry waiting list this day. I headed back to Menumbok via Beaufort town around 11am from Kota Kinabalu. Morning cruise was not as good as night cruise though. I can hear and feel the suspension vibrations, but it went off on night or rainy days. This is good symptom of 'rubber bushings' aging out as it gets more elastic in colder weather.


On the way back to Menumbok, heavy rains started to pour down, real heavy. As all other Volvos, the car still stick on the road, cruising at a safer speed of 90km/h with good vision.


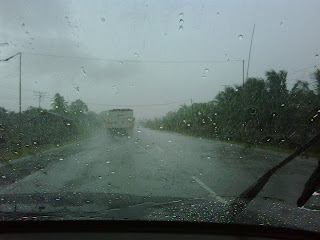
Unfortunately after hours of queing, I could not get through even to the last ferry which departed at 10pm, yes 10 at night! Menumbok is such a rural area, village houses along the way, no petrol stations, no buildings a long the way. I have no choice but to make a drive back to Beaufort town, an hour drive. Beaufort is the nearest town that have hotel facilities for me to spend my night. Alone, with a dead handphone, driving constant 80km/h only as vision was not good at all, total dark plus fog started to appear! I could not imagine of what will I do if the car stopped in the middle of the road. People says 'a brick will always get you home' may be true, with the help of Allah The Almighty.. At this point of time, my confident level boost up, of how reliable the car, how dependable it is, and how loyal it is to be where I need to be (or when?).

07 June 2011
Departed from Beaufort to Menumbok again. Today I managed to get a ferry back to Labuan. All in we have covered around 760 kilometres trip.


A wonderful and unforgettable one! Bye Sabah!